Phaser 4 completely rethinks how 2D lighting works. No more pipeline assignments, no restrictions on which objects support lights.
Imagine your game characters lit by a flickering torch, casting soft shadows as a light source moves across the scene. Or a dungeon where darkness is a gameplay mechanic, and every light has weight and presence. That's what dynamic 2D lighting makes possible, and in Phaser 4, it's never been easier to add to your game.
How to Enable Lighting in Phaser 4
In Phaser 3, enabling lighting on a sprite meant assigning a rendering pipeline manually. A rendering pipeline is the internal process Phaser uses to draw objects to the screen, and in v3 you had to switch it explicitly to get lighting working. It was possible, but it felt like a workaround. In Phaser 4, all of that is gone. It's a single method call:
// Enable lighting on any game object
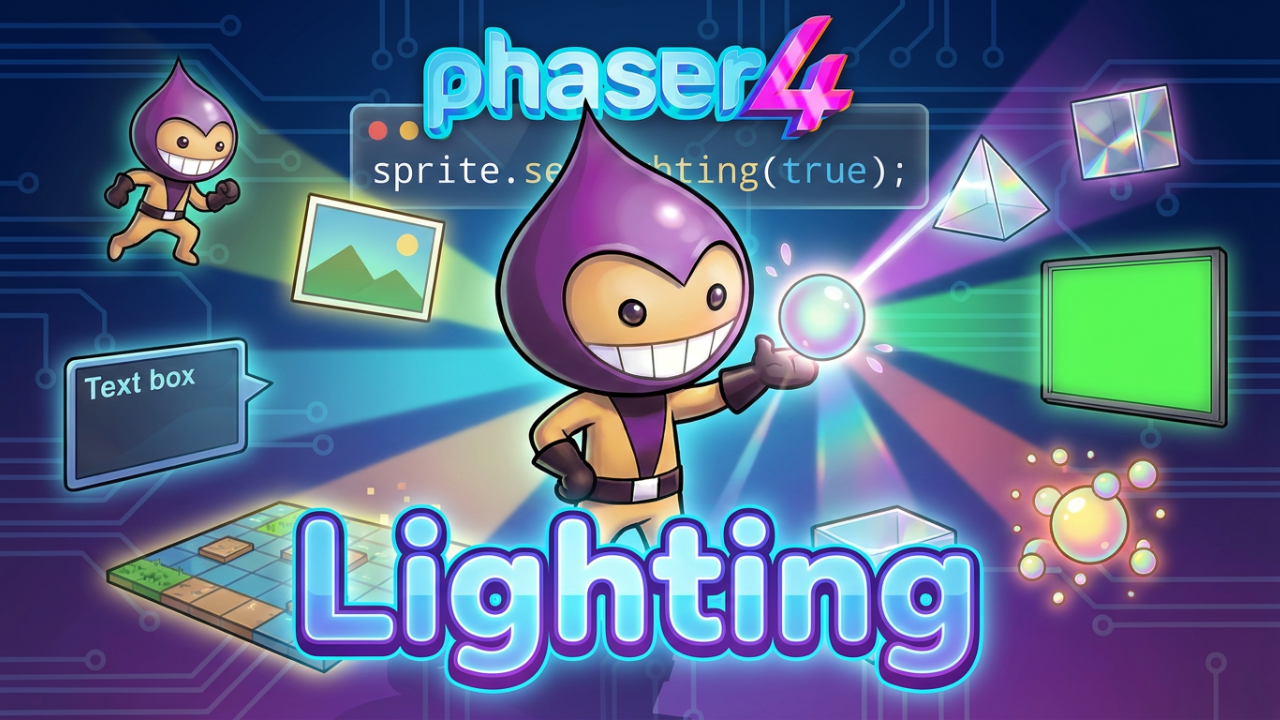
sprite.setLighting(true);
// Set how high the light floats above the scene
light.z = 100;Call setLighting(true) on any game object and it responds to lights in your scene. If you're new to Phaser, this is as simple as it sounds: one line and your sprite is lit. One small but useful detail: in Phaser 4, you can call setLighting(true) on an object even before the scene's light manager is active. The flag is stored and takes effect when lighting is enabled. In Phaser 3, order of initialization could cause unexpected issues here.
What Objects Support Lighting in Phaser 4?
In Phaser 3, dynamic lighting only worked on certain object types. In Phaser 4, it works on virtually everything: sprites, images, text, tilemaps, particles, video, shapes, and more. This matters more than it might seem. In Phaser 3, lighting your tilemap and your sprites together required juggling different systems. In Phaser 4, you call the same method on everything.
Self-Shadows: Depth Without 3D
One of the most exciting additions in Phaser 4 is self-shadows. In previous versions, lighting would illuminate a sprite uniformly — it would get brighter or darker based on the light position, but the surface of the sprite itself had no depth. Self-shadows change that.
With self-shadows enabled, the engine simulates shadows cast by the features of your sprite's own texture. The bumps, ridges, and details in your artwork create shadows under a light source, giving flat 2D sprites a genuine sense of volume and depth. You can enable this per-object or as a game-wide setting. That last part is worth highlighting: a single config option switches on self-shadows for your entire game at once, no need to call it on every object individually.
Explicit Light Height with the z Value
In Phaser 3, how high a light appeared to float above the scene was tied to the game's resolution, an implicit value that was hard to reason about and difficult to control. In Phaser 4, you set it directly with light.z. A higher z value means the light is further above the scene; a lower value makes it feel closer to the surface. Simple, predictable, and easy to tweak.
Normal Maps: How Lighting Knows Where the Shadows Go
For the most impressive results, pair lighting with normal maps. A normal map is a special image you create alongside your sprite art that tells the lighting system how each pixel of your sprite is oriented, which way it "faces". Without a normal map, light just illuminates the overall shape of your sprite. With one, light responds to every ridge, dent, and surface detail in your artwork. The result is a 2D sprite that looks genuinely three-dimensional under a moving light source.
Phaser 4 also includes the NormalTools filter, a new tool in the visual effects pipeline that lets you rotate, squish, and adjust normal maps directly without writing custom shader code. Useful for devs who want fine control over how their surfaces respond to light.
Lighting Works with the Phaser 4 Filter System
Lighting in Phaser 4 plays nicely with the new unified Filter system. You can stack bloom, color grading, atmospheric blur, or any other effect on top of a lit object, and everything works together without any special configuration. A torchlit dungeon with a vignette effect around the screen edges, for example, takes just a few lines of code.
Pro tip: enabling lighting changes the shader used to render an object, which breaks sprite batching, the process that groups multiple sprites into a single GPU draw call for performance. For best results, enable lighting only on the objects that actually need it in your scene.
Add Lighting to Your Phaser Game
Phaser 4 is out now. Ready to add lights to your game? The full changelog covers everything that's new, and if you're coming from Phaser 3, the migration guide walks you through every change step by step.