

Development of Phaser Editor v5 continues to progress steadily. Over the past weeks, we've been focusing on the finishing touches - polishing features, fixing bugs, and adding productivity improvements that make the editor more pleasant to use. In previous updates, we've talked about the big features like Phaser 4 support, filters, AI integration, and constraints. Today, we want to share some of the smaller but equally important improvements - the quality of life features that make a real difference in your daily workflow.
AI Configuration Made Simple
AI integration is still experimental in the editor, but we see enormous potential in it and believe it's essential for the future of development tools. As we continue developing these features, we've been working on making the setup process as simple as possible.
Previously, we provided templates and NPM packages that required manual configuration. We've changed this approach - the MCP server is now built directly into the editor installation, and we've added a configuration dialog that makes setup incredibly simple.
Access it from the main menu: AI → MCP Server Configuration
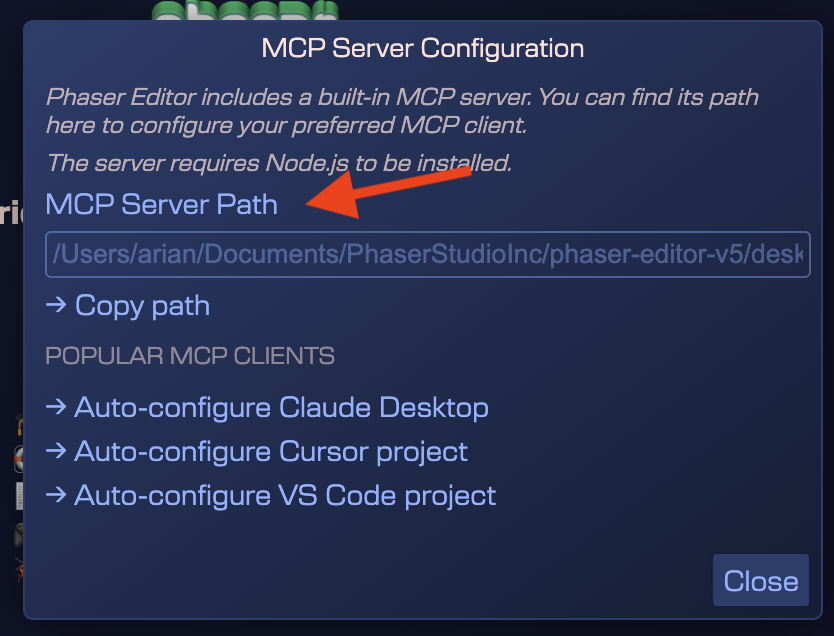
With one click, you can configure Claude Desktop, Cursor, or VS Code to work with Phaser Editor. The dialog shows you the path to the MCP server (if you need to configure another client manually) and provides automatic configuration for the most popular AI tools.
The configuration is smart too - Claude Desktop gets a global configuration (works for all projects), while Cursor and VS Code get project-specific configurations (creates an mcp.json file in your project).
No more npm installations, no more hunting for paths, no more manual JSON editing. Just click and you're ready to go!
Scene Editor Productivity Features
Unbox Prefab Instance
Sometimes you want to use a prefab as a template - create instances, then customize them independently without the connection with the original prefab. We've implemented an Unbox Prefab Instance command that does exactly this.

Right-click a prefab instance, go to Prefabs → Unbox Prefab Instance, and the prefab becomes regular game objects that you can freely modify. This is perfect for level templates - create a base level prefab, spawn multiple instances, then unbox and customize each one.
Object Rendering Control
When working with complex scenes, you often need to hide objects temporarily - spawn points, trigger zones, or just objects that are in the way while you're editing something else. But hiding them with the visible property affects the game at runtime.
We've implemented a Render in Editor property that solves this. It's editor-only - objects can be hidden in the editor but still appear in your game.
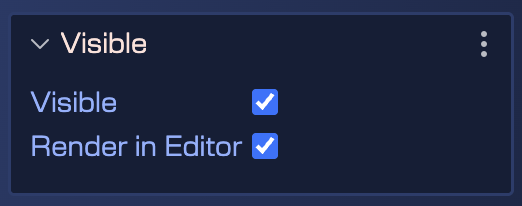
Press H to toggle the render state of selected objects, or use the gutter icons in the Outline view:
![]()
This is invaluable when working with scenes that have dozens of objects - hide what you don't need to see, focus on what matters, without worrying about affecting your game logic.
Prefab Custom Outline Colors
Visual organization matters, especially in large projects with many prefabs. We've added the ability to assign custom colors to your prefab types, making them instantly recognizable in the Outline view.
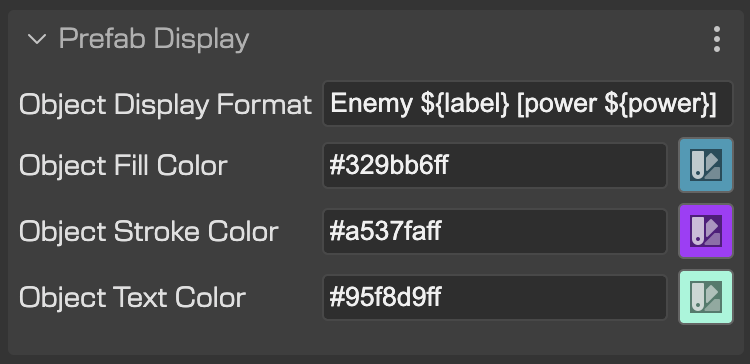
In the prefab definition, configure the display colors:
Then all instances of that prefab show with your chosen colors:
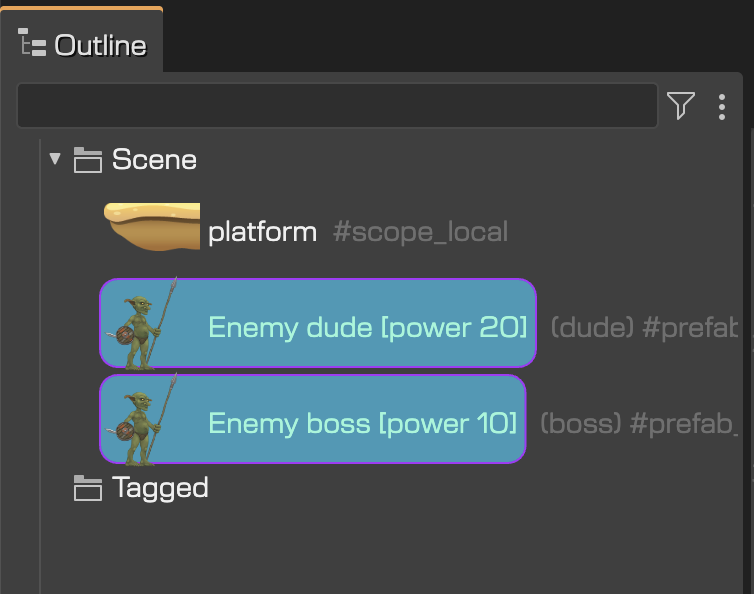
Want your UI buttons to be blue, enemy prefabs to be red, and collectibles to be green? Set it once in the prefab definition, and all instances show with those colors. This small visual cue makes a huge difference when navigating complex scene hierarchies.
User Components Visibility Toggle
By default, user components are hidden in the Outline view to keep things clean. But sometimes you need to see exactly which components are attached to which objects. We've implemented a Show User Components in Outline setting (in Settings dialog) that lets you toggle their visibility.
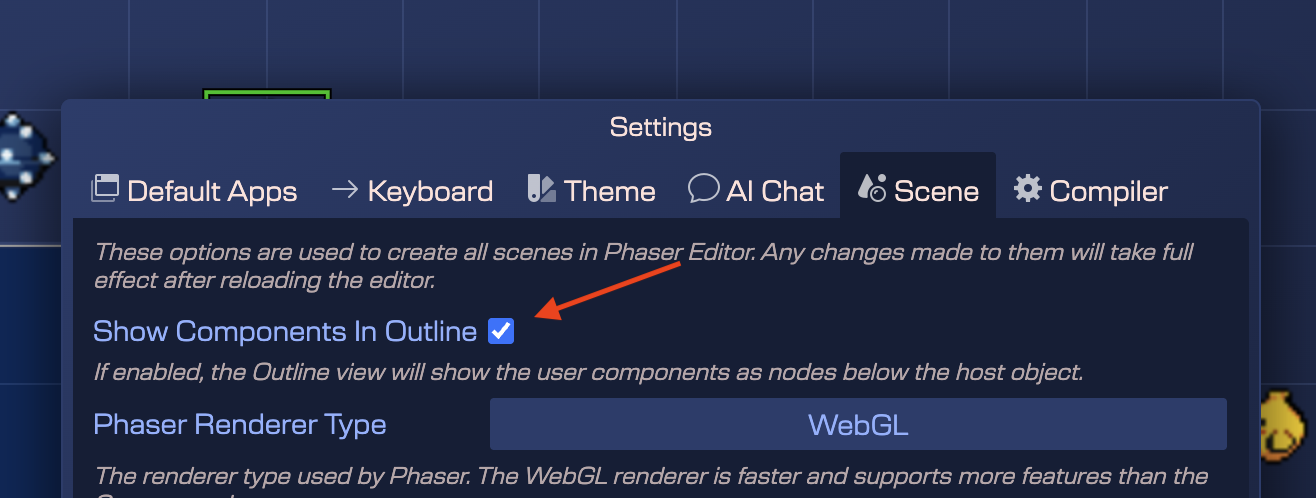
When enabled, components appear as child nodes in the Outline view:
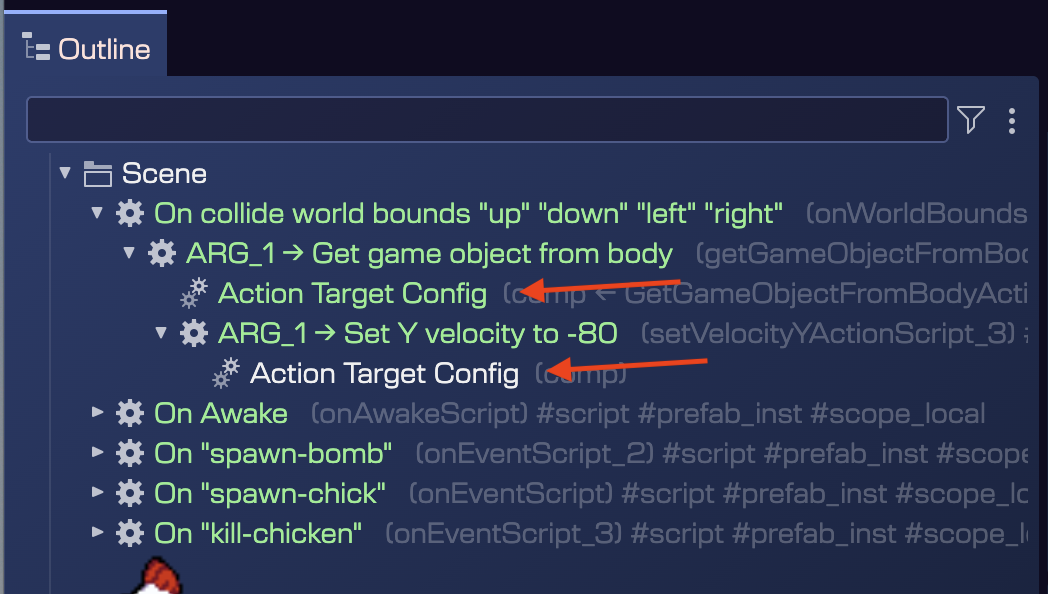
This makes it easy to verify configurations and debug component attachments. Use the Browse User Components command (Shift+M) for a quick overview without changing the setting.
Developer Tools
Log View
We've added a Log View that makes debugging editor issues easier. It shows all app log messages, helping you understand what the editor is doing and track down issues.
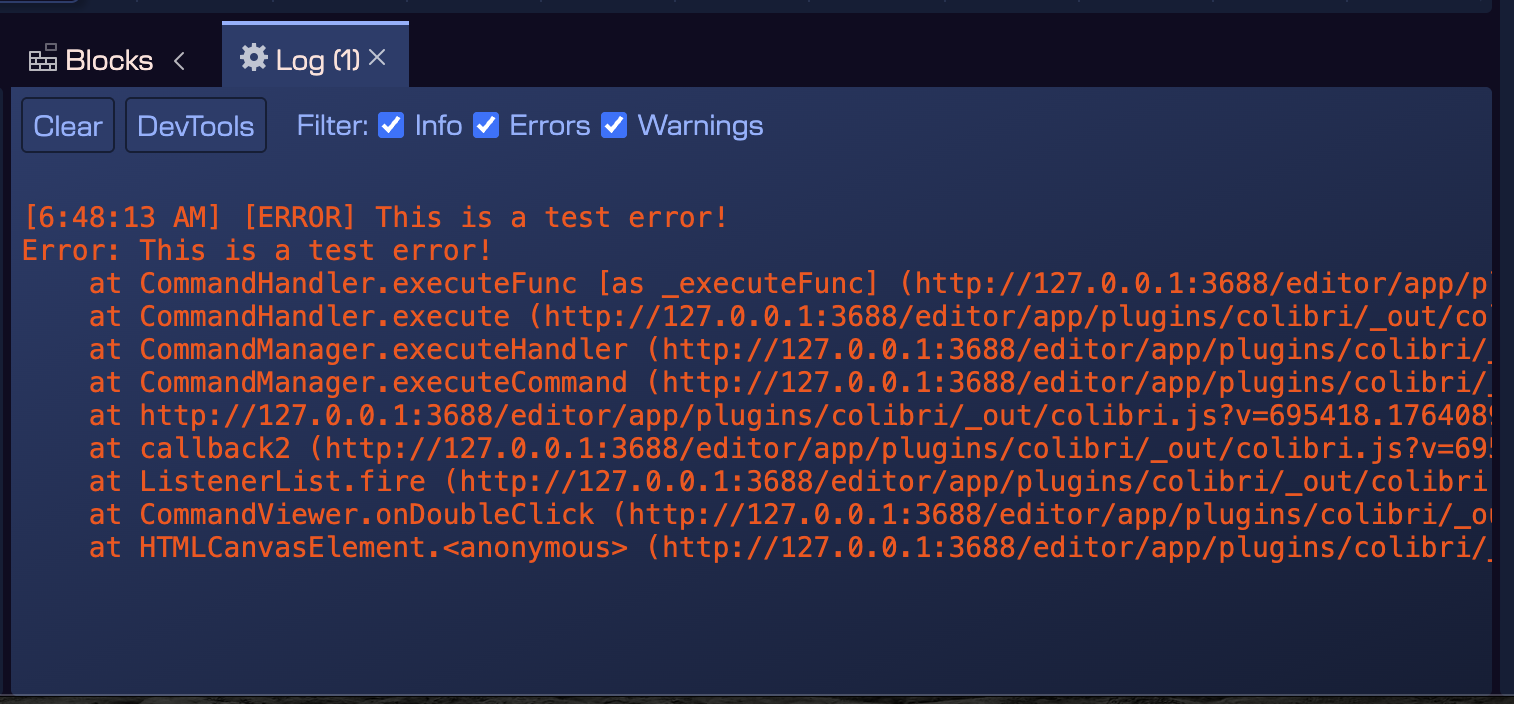
This is particularly useful when working when you need to report issues to us - you can see exactly what's happening under the hood.
More Property Types
We've continued expanding the user property system with additional types:
- JSON - Store arbitrary -or custom schema validated- JSON data
- Spine Slot Name - Dropdown for Spine skeleton slots
- Editor Only - Properties that don't appear in generated code
Other Improvements
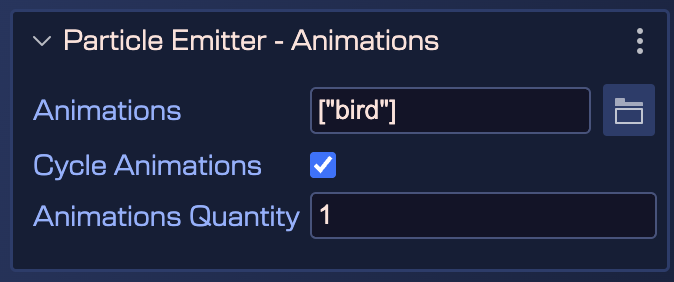
Particle Emitter Animations - Configure particle emitter animations directly in the Scene Editor:
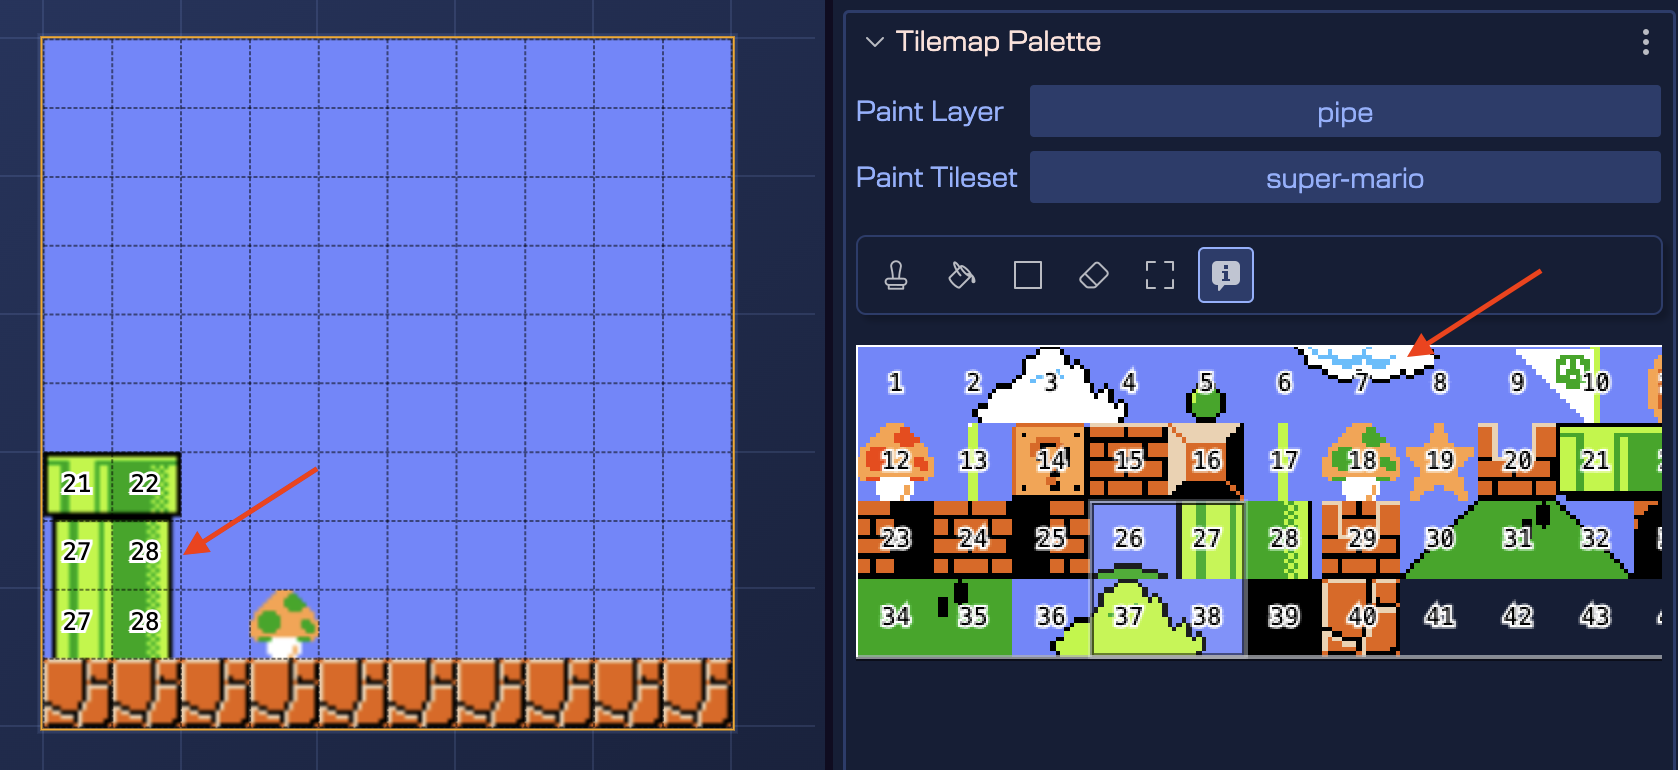
Tilemap Info Tool - See tile indices as you hover over tileset tiles:
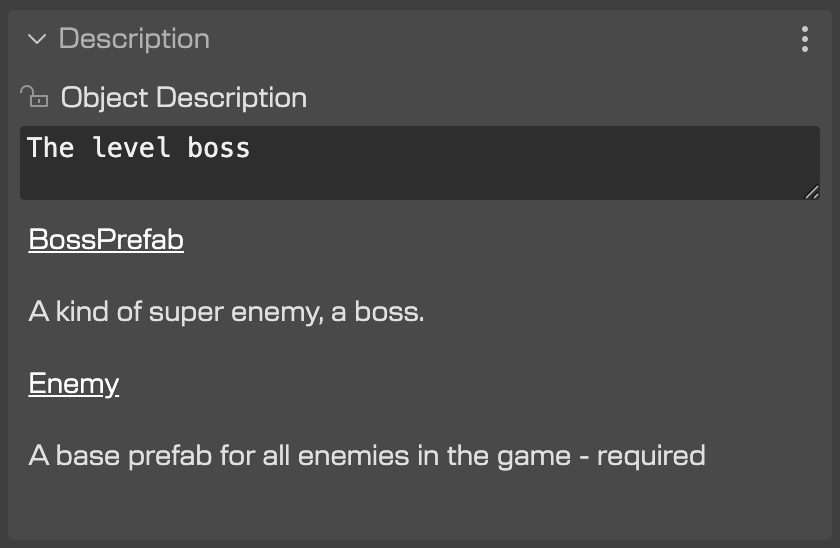
Description Section - Document your game objects and prefabs with notes in the Inspector:
Additional improvements:
- Rounded Rectangle - Rectangle game objects have a
Roundedproperty for rounded corners - Blocks View Grouping - Group blocks by Internal/External
What's Next
We're getting very close to the finish line! Most of the major features are complete, and now we're focusing on bug fixes, documentation, and final polish. There are still a few smaller features and improvements we want to add, but the editor is shaping up nicely.
Phaser Editor v5 represents months of intense work, incorporating feedback from individual developers and enterprise teams. The editor is becoming more powerful, more productive, and easier to use with each update.
We'll keep you posted on the progress. Thanks for following along!
See you in the next update!